


Unlock your potential. Elevate your life.
BREATHE. MOVE. EXPLORE. BECOME.


Core Services & Signature Experiences
My primary and most popular offerings— the foundation of my work with clients.
Personal Coaching & Training
We’ll work one-on-one to focus on what’s most important to you in life, sport, and work and craft a personalized approach (along with tools and practices) to help you elevate your performance, feel your best, and live healthier, happier, & more connected.
Corporate & Team Wellness Workshops
I love helping teams and companies build camaraderie, culture, and success through breath, wellness, movement, and resiliency practices. Together, we’ll create a culture of health and happiness (personally and professionally) that boosts performance in and out of the boardroom or on and off the field.

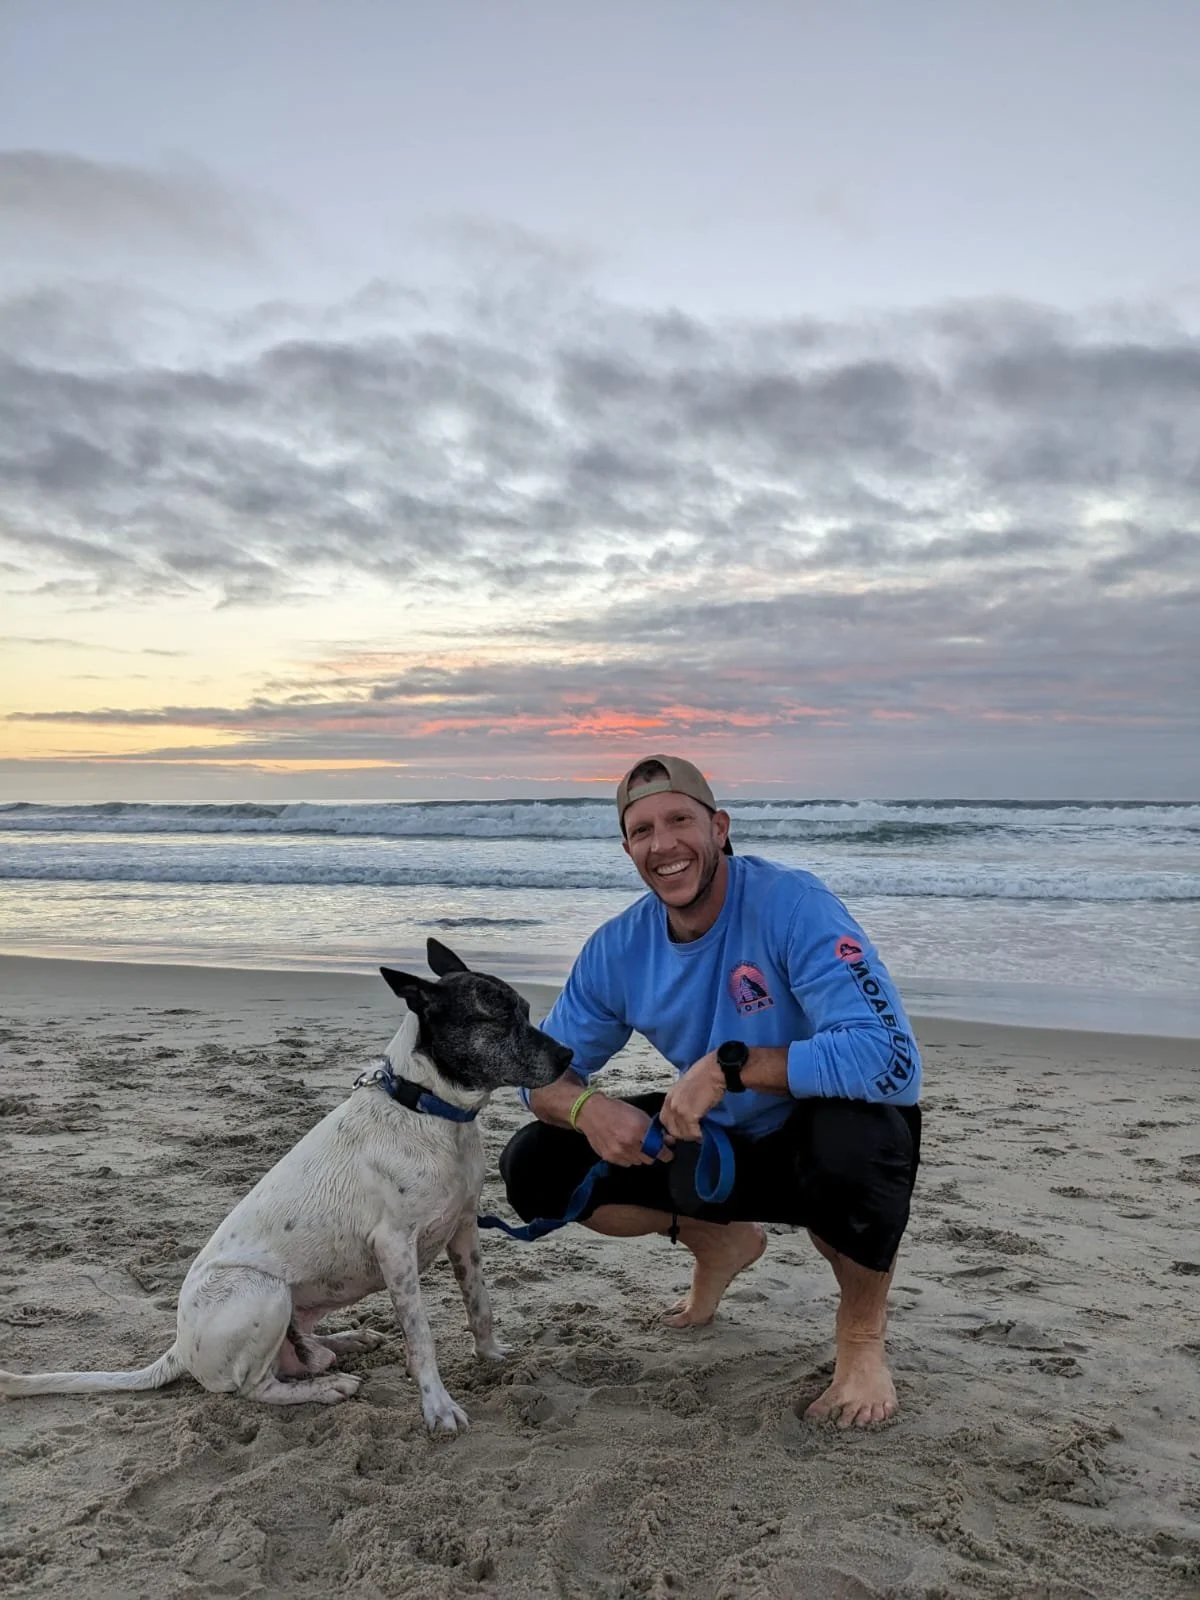
Adventure & Fitness Travel
Join me on the road less traveled to experience and celebrate the world through people, places, and adventures. Explore new cultures, embrace challenges, and create unforgettable experiences that will enrich your life in mind, body, and spirit.
Custom Offerings & Specialties
Flexible, one-of-a-kind ways to work together- tailored to your goals, your team, or your next adventure.
-
This is the inner work. Through breath, visualization, & mindfulness, you’ll develop practices that quiet the mind, build self-awareness, & cultivate inner peace. Breathwork is multi-faceted & can enhance physiology, support physical performance, & strengthen psychological resilience— helping you take inventory of your inner world & help you show up w/ greater clarity & calm.

-
Building this skillset will equip you with practical tools for everyday life—helping you downshift, stay present, and respond with greater emotional intelligence and peace of mind. You’ll learn practices that boost self-awareness, expand your stress tolerance, and sharpen mental focus.

-
Let’s design the elevated life you want by building habits, routines, & practices that support optimal wellness & performance—in every area of life, work, & relationships. Together, we’ll co-create a roadmap to your best self, focusing on where to invest your two most valuable resources: time & attention.

-
As a coach, my goal is to help people live more meaningful lives. One of the most powerful ways I’ve found is through dual transformation: taking on challenges that spark personal growth while making a positive impact for others. By investing your time, talent, and resources, you can live your dreams, support causes you care about, and change the world for the better.

-
Our 1-day immersive events are tailored in collaboration with your organization to strengthen culture, boost camaraderie, and build resilience. By integrating breathwork, stress management, movement, and recovery, we create healthier, more engaged teams who perform at their best and thrive together.

-
I design tailored programs to meet you where you are—whether your goals are athletic, health-focused, or centered around a life event or personal milestone. From strength training and marathons to weight loss or aging well every program blends fitness, breathwork, resilience, and lifestyle practices to help you reach your goals and elevate the way you live each day.

-
Our multi-day immersive retreats are designed to reset, renew, and elevate your mind and body. Each experience blends breathwork, daily movement, time in nature, recovery practices, and nourishing meals. Surrounded by an inspiring community, you’ll step away from the noise of daily life to recharge, gain clarity, & return home with lasting tools and practices.

-
Specially curated, immersive journeys—both domestic and international—designed to blend culture, cuisine, and adventure. Together we’ll venture into wild places and vibrant cities, take on meaningful fitness challenges, and explore landscapes that inspire awe. Each trip is crafted to connect you more deeply with yourself, your fellow travelers, and the world.

-
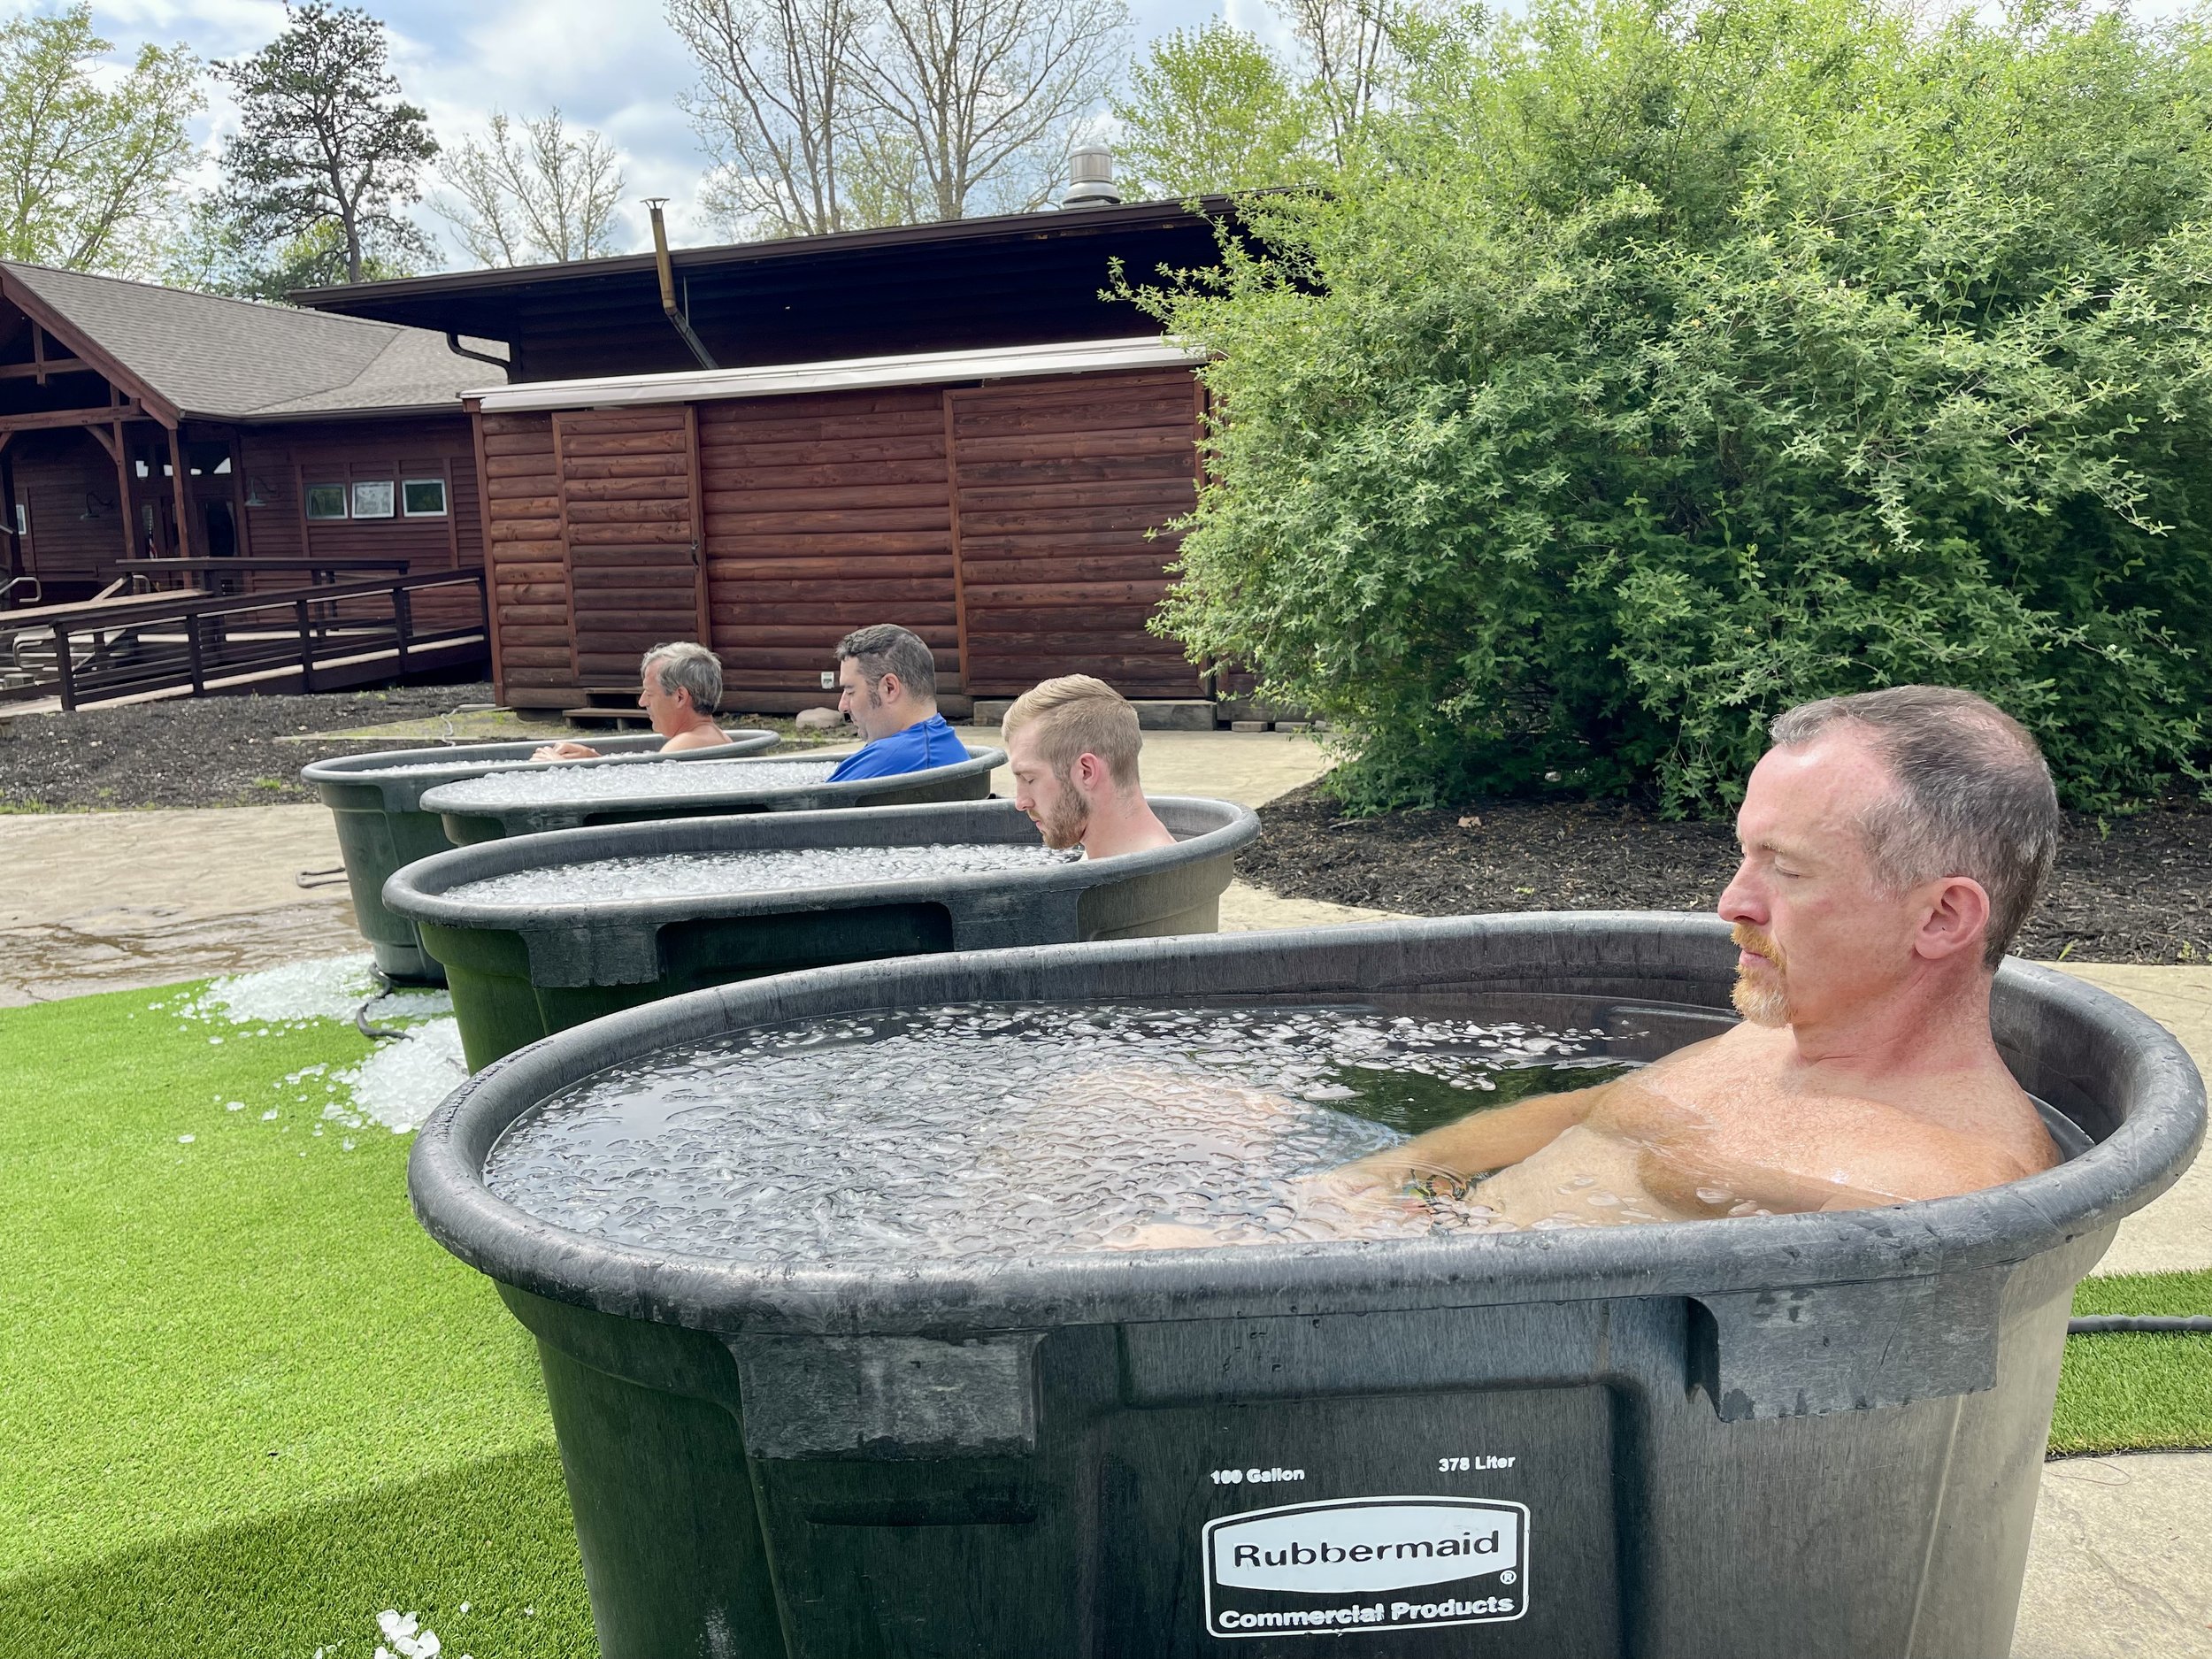
Cold & heat are simple, accessible tools with powerful benefits. They can challenge or restore, serving as a mirror to reveal your current state. When practiced well, they improve breath control, body awareness, & nervous system regulation— while jumpstarting recovery, strengthening resilience, enhancing sleep, & boosting vitality.

-
Through weekly or bi-weekly sessions—virtual or in-person—we’ll work together to achieve your health, fitness, and wellness goals.. This is deeply personal work, tailored to your unique needs. Whether it’s breathwork, stress reduction, strength, or habit change, each session is tailored to help you build resilience, stay accountable, and create lasting transformation.

Let’s connect!
Interested in working together? Please fill out the info below and then we can schedule a 30-minute consultation to connect directly.

